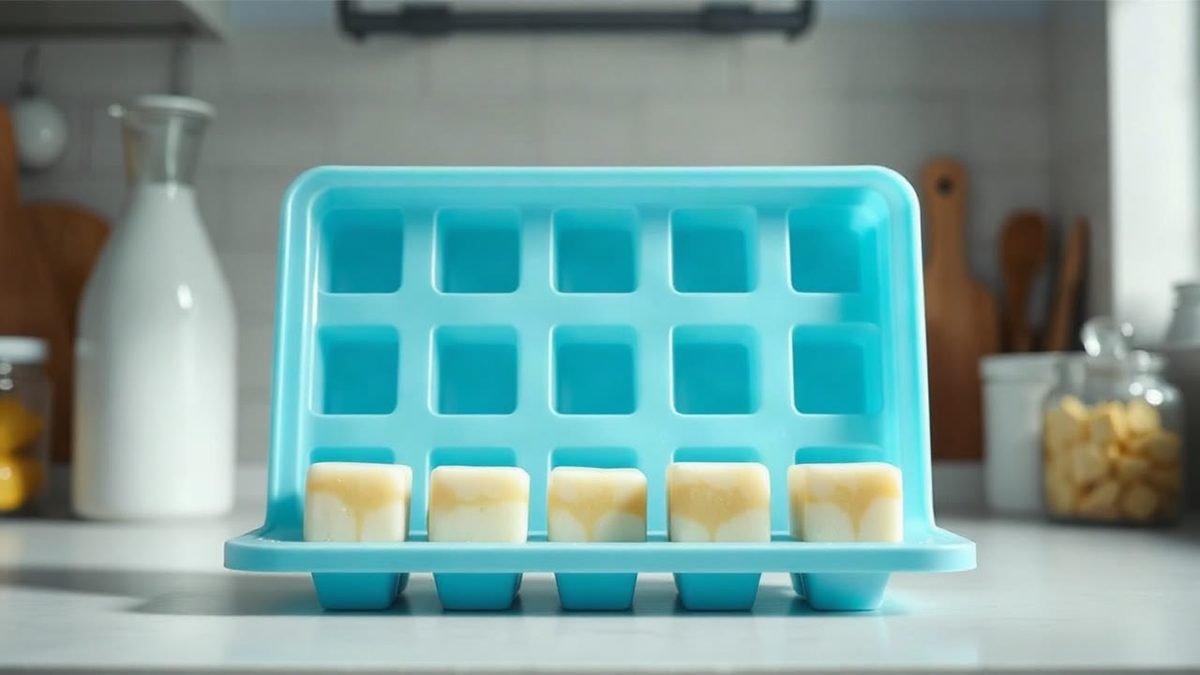

Why cubes stick in a silicone mould, and what actually fixes it
Ice cubes usually stick in a silicone mould because of residue left on the mould surface, insufficient freezing time, trapped air between the cube and the silicone, or a mould whose silicone has degraded. Incorrect mixing or curing can also leave a mould surface tacky from the start, which makes sticking far more likely. Silicone itself is naturally non-stick, so when cubes cling, something about the surface, the temperature or the fill level is working against that natural release. The good news: nearly every cause has a quick, practical fix.
Key takeaways
- Residue is a common culprit. Film from the freezer, mineral deposits from hard water and leftover oils all create tacky spots that grip ice.
- Under-frozen cubes tear and stick. Give cubes plenty of time to freeze solid; fully frozen ice generally releases far more cleanly than partially set ice.
- Warm water is your release agent. A short rinse on the underside of the mould loosens cubes without melting their shape.
- Filling to the top causes overflow grip. A thin bridging layer of ice between cubes makes the whole tray hard to empty.
- A mould that feels permanently tacky when empty may have a curing problem, not an ice problem (more on that below).
Silicone is non-stick, so why do cubes stick in a silicone mould at all?
Silicone earns its reputation for easy release because ice does not bond strongly to its surface, unlike the plastic or metal of older tray designs. But non-stick only works when the surface is actually clean and intact. Anything sitting between the silicone and the ice, whether that is limescale, a greasy film or detergent residue, gives the ice something to grip.
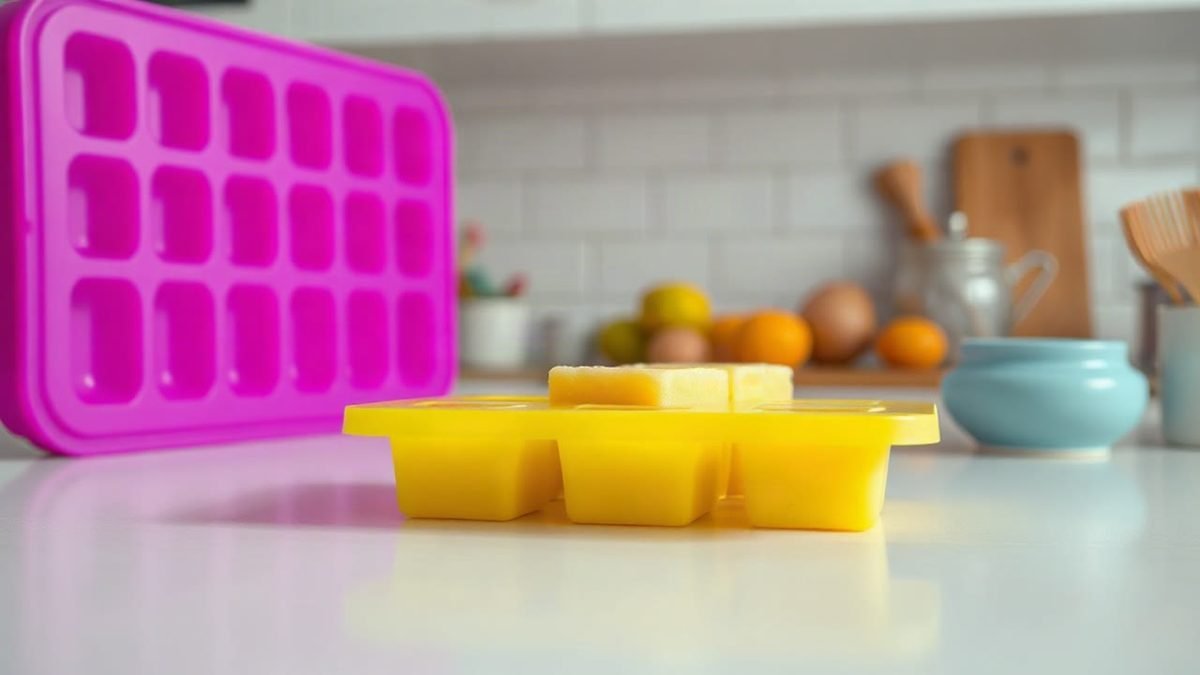
Specialist mould makers make the same point more broadly: silicone moulds tend to stick when the surface preparation, the condition of the silicone and the release method are not right, and sticking often comes down to overlooked factors rather than a fault in the silicone itself (EnvironMolds). For an ice mould, that “surface preparation” is simply a clean, dry, residue-free tray before it goes in the freezer.
The invisible film you cannot see
Freezer air carries moisture and food particles, and over weeks a faint film builds up on anything not sealed inside a container. Hard water areas add a second problem: calcium and mineral deposits that dry as a chalky micro-layer. Neither is visible on pale silicone, but both are enough to make cubes cling, especially around the edges of each cavity.
The five most common causes, ranked
When readers ask why cubes stick in a silicone mould, the answer is usually one of these five things, roughly in order of how often it comes up:
- Surface residue. Freezer film, limescale, oil from fingers or soap scum from the washing up.
- Not frozen solid. Slushy centres mean the cube deforms when you push it out, and deformed ice grips the cavity walls.
- Overfilled cavities. Water expands as it freezes, so a brim-full tray creates a bridging sheet of ice across the top that locks every cube to its neighbours.
- Twisting too early or too gently. Silicone flexes beautifully, but hesitant half-twists can leave the cube seated while only deforming the tray.
- A mould that never cured properly. Rare with reputable brands, but a genuinely tacky, gummy surface when the tray is empty and dry is a different problem entirely.
That last one deserves a closer look
Silicone curing specialists note that a “sticky” silicone surface is essentially a sign of incomplete curing: the material stays partially liquid or gel-like even after the recommended curing time, which makes demoulding difficult and can leave defects on whatever you cast in it (SiliconeAB). Kitchen-grade silicone trays are mass-produced and cured before they ever reach you, but cheap moulds occasionally slip through with a tacky finish. If your tray feels sticky when it is empty, dry and room temperature, no amount of rinsing will fix it. Contamination during manufacture, such as grease or residue on the mould surface, is a recognised cause of sticking problems (EnvironMolds), and a tray like that is usually best replaced rather than battled with.
If your tray instead picks up smells over time, which is a separate issue from sticking, our guide to why silicone ice cube trays smell and how to get rid of it covers the deep-clean routine.
How freezer temperature and freezing time affect release
Ice needs to be frozen right through before it will release cleanly. If the centre is still slushy, pressing the base of the mould squashes the cube, widening it against the cavity walls. You then tear the cube trying to free it, and torn, wet ice grips silicone far more than a solid, dry-faced cube does.
Give standard cubes a full night
Standard-sized cubes are reliably solid after roughly four to six hours in a typical home freezer, but overnight is the safe bet. Large cubes and novelty shapes in deeper moulds can take considerably longer, sometimes 12 hours or more, because ice freezes from the outside in. If your big-cube mould always sticks, try freezing it overnight rather than making cubes the same afternoon you need them.
Watch your freezer temperature too
If your freezer is running warmer than it should, the ice can be softer and more prone to deforming during release. If cubes seem to stick more in summer, check the thermostat before blaming the tray.
How you fill the mould matters more than you think
Overfilling is the sneaky cause most people never suspect. Water expands as it freezes, so cavities filled to the brim produce a thin web of ice connecting cube to cube and cube to mould edge. Pull one cube and the whole sheet fights back.
Fill lines exist for a reason
Aim to fill each cavity just below the rim, leaving a couple of millimetres of headspace. If your mould has an embossed fill line, trust it. For trays without one, a useful rule of thumb is to stop filling once the water looks level with the silicone’s inner ridge rather than level with the top of the rim.
Level your water before it freezes
Tilting water sitting in a flexing silicone tray can pool unevenly, so thin sections freeze first and misshape. Carry the tray to the freezer on a small baking tray or cutting board, set it down flat, then slide the board out. This also stops a flexing tray dribbling water between cavities, which creates exactly the kind of bridging ice that causes sticking.
The right way to release cubes (and the wrong ways)
Once the cause is fixed, release is simple. Here is the reliable sequence for stubborn moulds:
- Let the tray sit out for a minute or two. The silicone warms slightly and shrinks away from the ice; patience alone solves many sticking complaints.
- Run cool or lukewarm water over the underside of the mould. Keep it brief, five to ten seconds, and keep water off the tops of the cubes. The silicone expands faster than the ice, breaking the surface bond.
- Push from the base, one cavity at a time. Firm, single pushes pop cubes out whole. Half-hearted repeated prodding is what shatters large cubes.
- Twist only for flexible trays with simple shapes. Intricate moulds (spheres, skulls, giant cubes) release better with the push-from-below method, because twisting can crack detailed ice.
What to avoid: knives and other metal implements, which can nick the silicone and create permanent rough spots; and hot water, which melts the cube faces you spent hours freezing clear. If you are making clear or flavoured cubes, such as the coffee cubes in our guide to keeping iced coffee from going watery, gentle release matters even more, since those cubes are doing a job in the glass, not just chilling it.
Cleaning and caring for a silicone mould so cubes never stick again
Prevention beats rescue every time, and silicone mould care is refreshingly simple.
- Wash with warm water and a drop of washing-up liquid after each use, then rinse well. Soap residue itself can cause grip, so rinse thoroughly.
- Dry completely before stacking or storing. Trapped moisture breeds the film and freezer smells we cover in our silicone smell guide.
- Descale occasionally if you live in a hard water area. A short soak in a solution of water and a splash of white vinegar dissolves mineral film. Rinse well afterwards.
- Store covered or in a sealed bag. Keeping the mould out of open freezer air prevents dust, frost and food odours settling on the surface.
- Keep it away from strong-smelling foods and direct heat. Silicone absorbs flavours easily, and a scorch or deep scratch creates rough patches that grip ice.
Deep-clean routine for a tray that has gone tacky
If the mould surfaces feel grippy when clean and dry, try this: soak the tray in hot (not boiling) water with washing-up liquid for ten minutes, scrub gently with a soft sponge, then soak briefly in the vinegar solution if limescale is visible. Dry fully and test with one batch of cubes. If it still feels tacky with nothing in it, the silicone surface itself is likely at fault, and a replacement tray will save you more frustration than it costs.
When choosing a replacement, material makes a real difference to release behaviour. Our comparison of silicone vs plastic vs stainless steel ice trays walks through how each material handles demoulding, durability and odour.
Quick fixes for right now
Need cubes in the next five minutes? Do this: run lukewarm water over the underside of the mould for about ten seconds, then press firmly from the base of one cavity while supporting the tray. If a cube resists, run the water for a few more seconds rather than forcing it. A clean, fully frozen cube released with brief warmth should drop out intact, and the same routine works for spheres and novelty shapes, just with a little more patience.
FAQ
Do I need to oil or spray my silicone ice mould?
Generally no. Clean, intact silicone releases ice without any release agent, and adding oil or cooking spray can leave a residue that builds up on the mould surface and may affect the flavour of your next batch. Reserve release agents for stubborn materials like chocolate or resin, not water.
Why do only some cubes stick in the same tray?
Usually because those cavities hold residue, or because the tray was not level in the freezer, so some cavities ended up overfilled with bridging ice. Water may also have dribbled between cavities, welding neighbours together. Level the tray on a flat board and fill just below the rim to even things out.
Can a silicone mould be permanently sticky?
It can. If the tray feels tacky when empty, dry and at room temperature, the silicone surface itself has a problem: either incomplete curing from manufacture or surface degradation. Curing experts describe this tackiness as a hallmark of incomplete cure, which prevents clean demoulding (SiliconeAB). Deep-clean first; if the tackiness remains, replace the tray.
Does hot water damage silicone ice moulds?
Occasional hot water for washing is fine for quality silicone. The practical issue is release: hot water melts the outside of the cubes, giving you misshapen, wet ice. Use lukewarm water on the underside only, and save genuinely hot water for cleaning.
Why do large cubes stick more than small ones?
Three reasons: they take much longer to freeze solid, more surface area contacts the mould, and flexing a deep mould to release a heavy cube takes more force. Freeze large-cube moulds overnight and always push from the base rather than twisting.
Final thoughts
Sticking is almost never a flaw in silicone itself. It is residue, under-freezing, overfilling or rough handling, and each has a fix you can apply today. Clean the tray, fill it below the rim, freeze it fully and release with a brief rinse and a firm push, and cubes should pop out cleanly for years. If your current tray has reached the end of its life, our guide to silicone, plastic and stainless steel trays will help you pick a mould that releases well and lasts.



2 comments